
Things You Didn’t Know You Can Do With The WhatsApp Community Feature.
In this article, you will learn 5 things you didn’t know you could do with the WhatsApp community feature. Also, you will learn how to create, manage, and exit any Community. You will also learn how to edit a WhatsApp Community and make changes and updates. Finally, you will learn how to deactivate your Community.
According to Google’s generative AI, “WhatsApp Communities is a feature that allows users to organize groups into a single space. Communities can be used for different purposes, such as Housing society, Primary teachers, and Marketing departments”.
WhatsApp Communities provide a convenient platform for bringing together multiple groups under one umbrella, facilitating organized communication and collaboration. This guide will walk you through the process of creating, managing, and exiting a WhatsApp Community.
1. Creating a WhatsApp Community
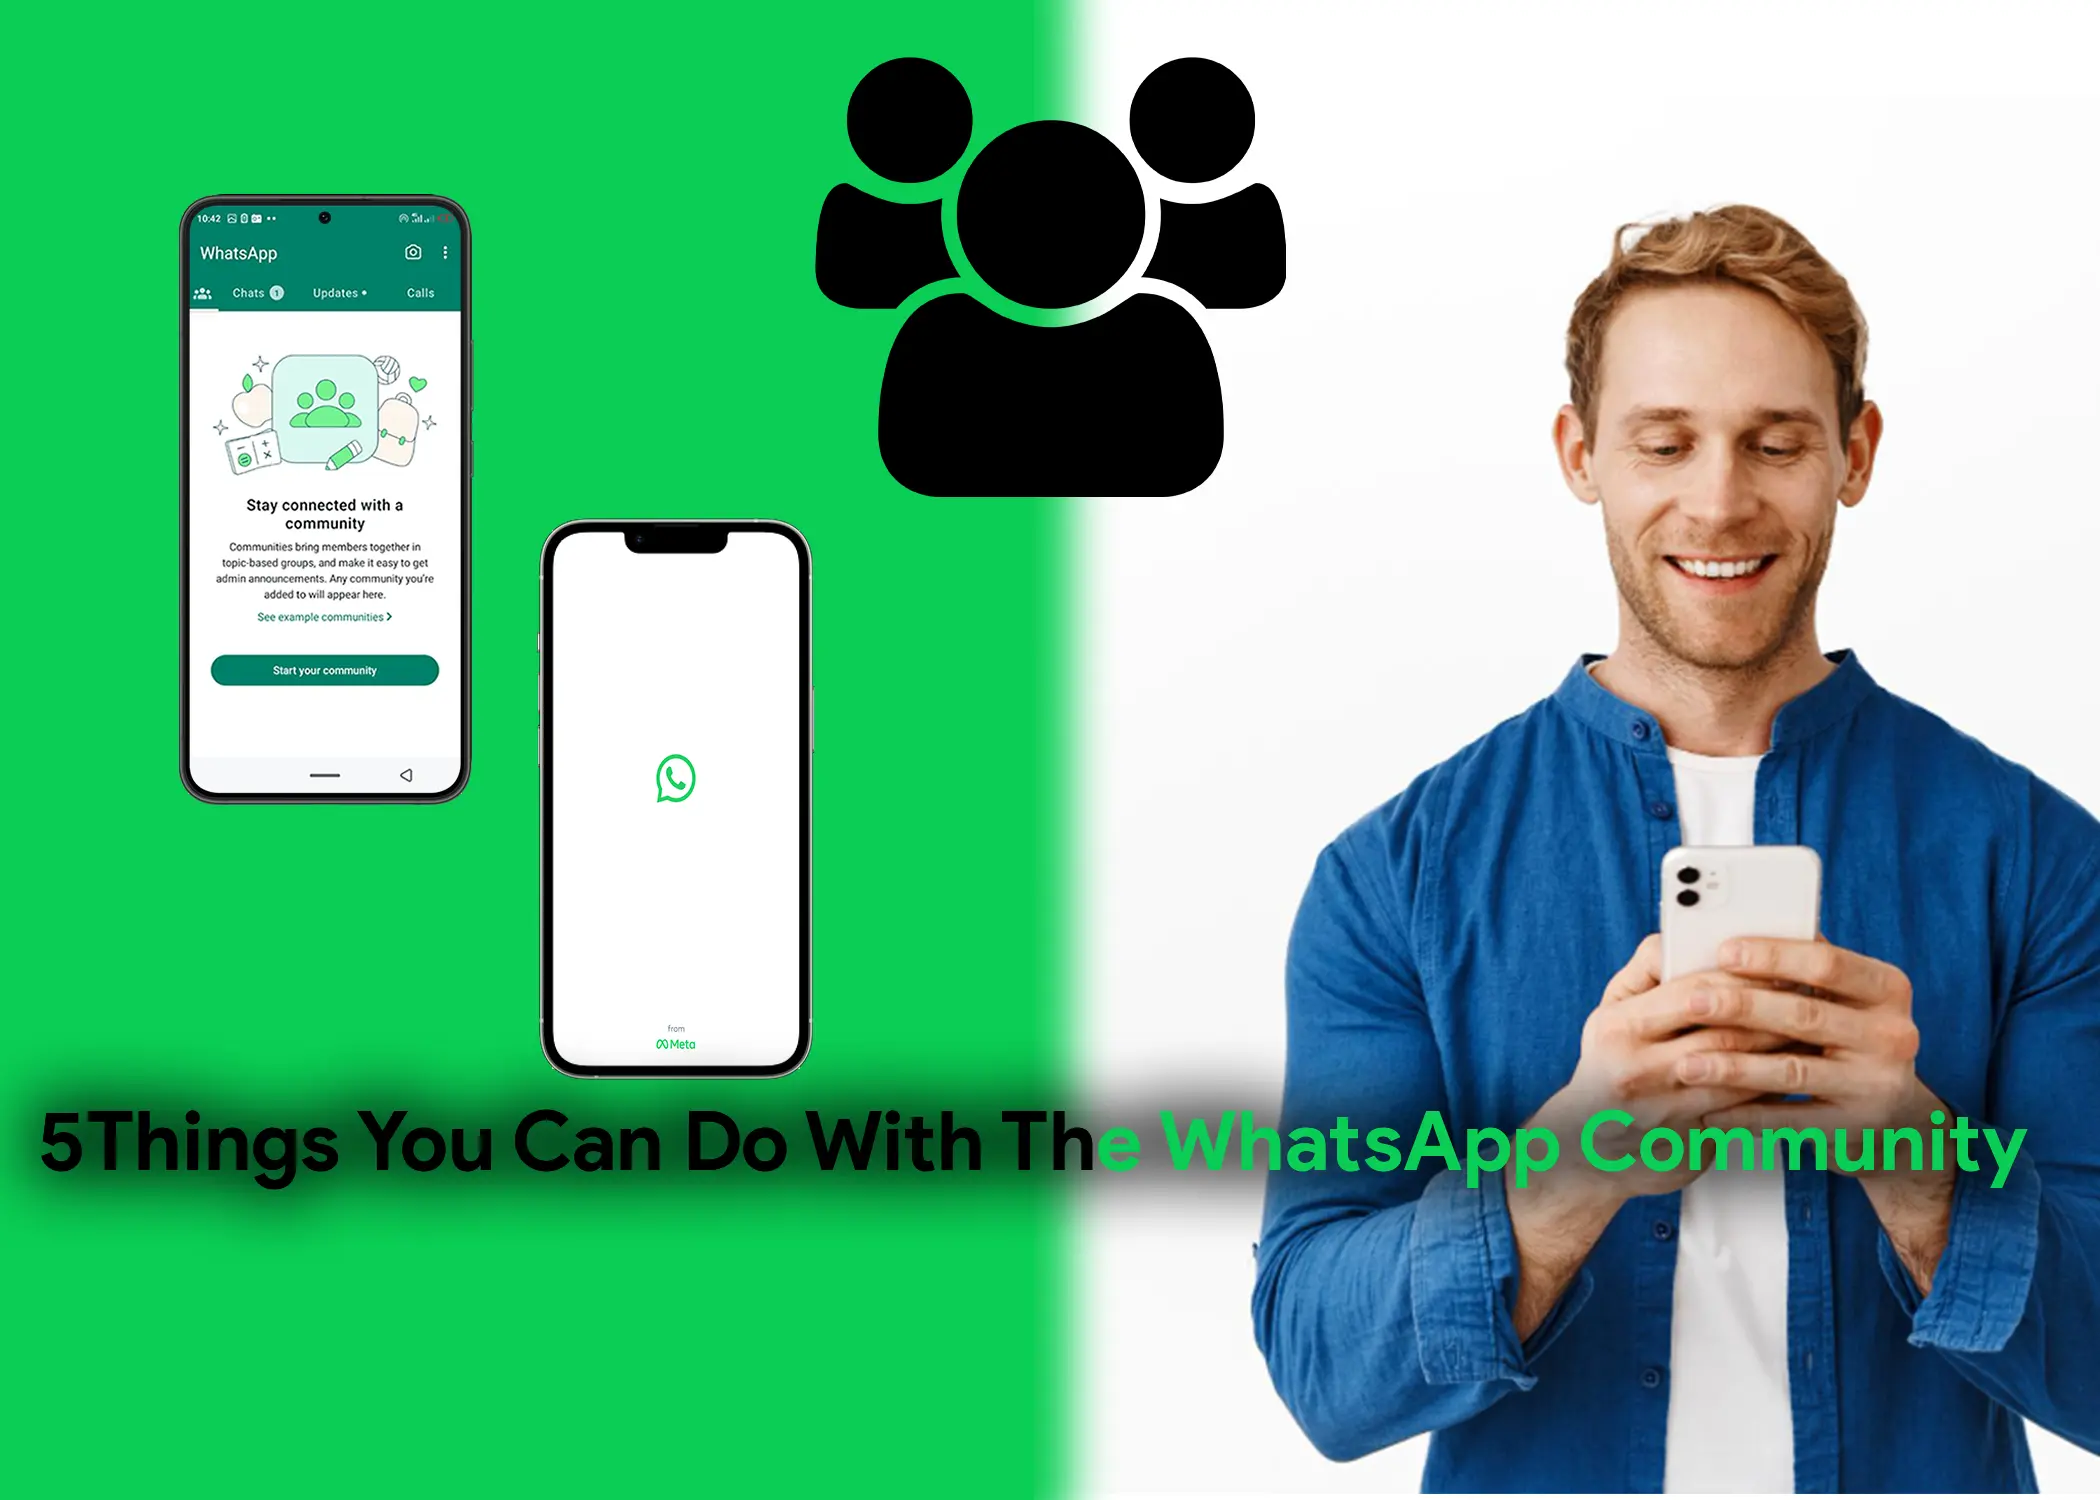
Before diving into the steps of creating a WhatsApp Community, make sure you have the WhatsApp application installed on your device. Follow these steps to initiate and set up your community:
- Launch WhatsApp and navigate to the Communities tab.
- Tap on the Start your Community button.
- Click on Get Started.
- Enter a name for your community and add a brief description (optional).
- Choose a profile picture for your community (optional).
- Tap on the Next arrow.
- Select whether to create new groups or add existing groups to your community.
2. Adding Groups to a WhatsApp Community
Once your community is created, you can add groups to the community. To do this, follow these steps:
- Go to the Communities tab.
- Tap on the community that you want to add a group to.
- Tap on the + Add Group button.
- You can either choose to create a new group or add existing groups to the community.
A. Creating New Groups
To create a new group to the community:
- Tap on the Create new group button.
- Create and enter a group name.
- (Optional) Add a profile picture for the group.
- Select if you want disappearing messages to be off, set to 24 hours, 7 days, or 90 days.
- Tap on the Add button to add participants.
- Tap on the Check button to add the group to your WhatsApp community.
Also, Check Out: How to Create and Edit a New Group on WhatsApp Beta App for PC
B. Adding Existing Groups
To add existing groups:
- Tap on the Add Existing Groups button.
- Select the groups that you want to add. It can be up to 100 groups. It must be the group that you are an admin of.
- Tap on the Next button to add the group to your community. When you do so, everyone in the group will be added to the community automatically.
3. Editing Your WhatsApp Community
Once your WhatsApp Community is established, it’s essential to know how to edit and manage it effectively. To edit a WhatsApp Community and make changes and updates, follow these steps:
- Open WhatsApp and swipe right to access the Communities tab.
- Tap on the community you want to edit.
- Click on the three-dot icon in the top right corner.
- Select Community info.
- Make the desired changes, such as managing groups, modifying community settings, editing community information, changing the community name, or updating the community profile picture.
- Tap on Save to apply the changes.
4. Exiting a WhatsApp Community
If you don’t read ever engage in a community or never bothered to enter it or send a chat in it, then you should leave the group. To exit a WhatsApp Community, follow these steps:
- Open WhatsApp and swipe right to access the Communities tab.
- Tap on the community you want to exit.
- Click on the three-dot icon in the top right corner.
- Select Community info.
- Scroll down and tap on Exit Community.
- Confirm your decision to exit the community.
Also, Check Out: How to Fix WhatsApp Photos Not Showing on Gallery Automatically
5. Deactivating a WhatsApp Community
If you need to deactivate a Community, be aware that this action is irreversible and will permanently delete all associated data, including messages and groups. To deactivate a WhatsApp Community, follow these steps:
- Open WhatsApp and swipe right to access the Communities tab.
- Tap on the community you want to deactivate.
- Click on the three-dot icon in the top right corner.
- Select Community info.
- Scroll down and tap on Deactivate Community.
- Confirm your decision to deactivate the community.
Effective immediately, after you deactivate your community, it will be disbanded. All groups will be disconnected, the announcement group will be closed, past admins will no longer be able to message members, and all community information will be deleted. This means that members will no longer have access to past information, such as past admins or groups.
In conclusion, WhatsApp Communities offer a cool way to bring different groups together for organized communication. You can create, manage, and exit communities with ease. Whether it’s forming a new community, adding groups, editing details, or exiting when needed, this guide has you covered. Just remember, if you ever need to deactivate a community, be aware that it’s a permanent action, wiping out all associated data. So, go ahead and explore the world of WhatsApp Communities, but always keep in mind the power of your decisions, especially when it comes to deactivation.