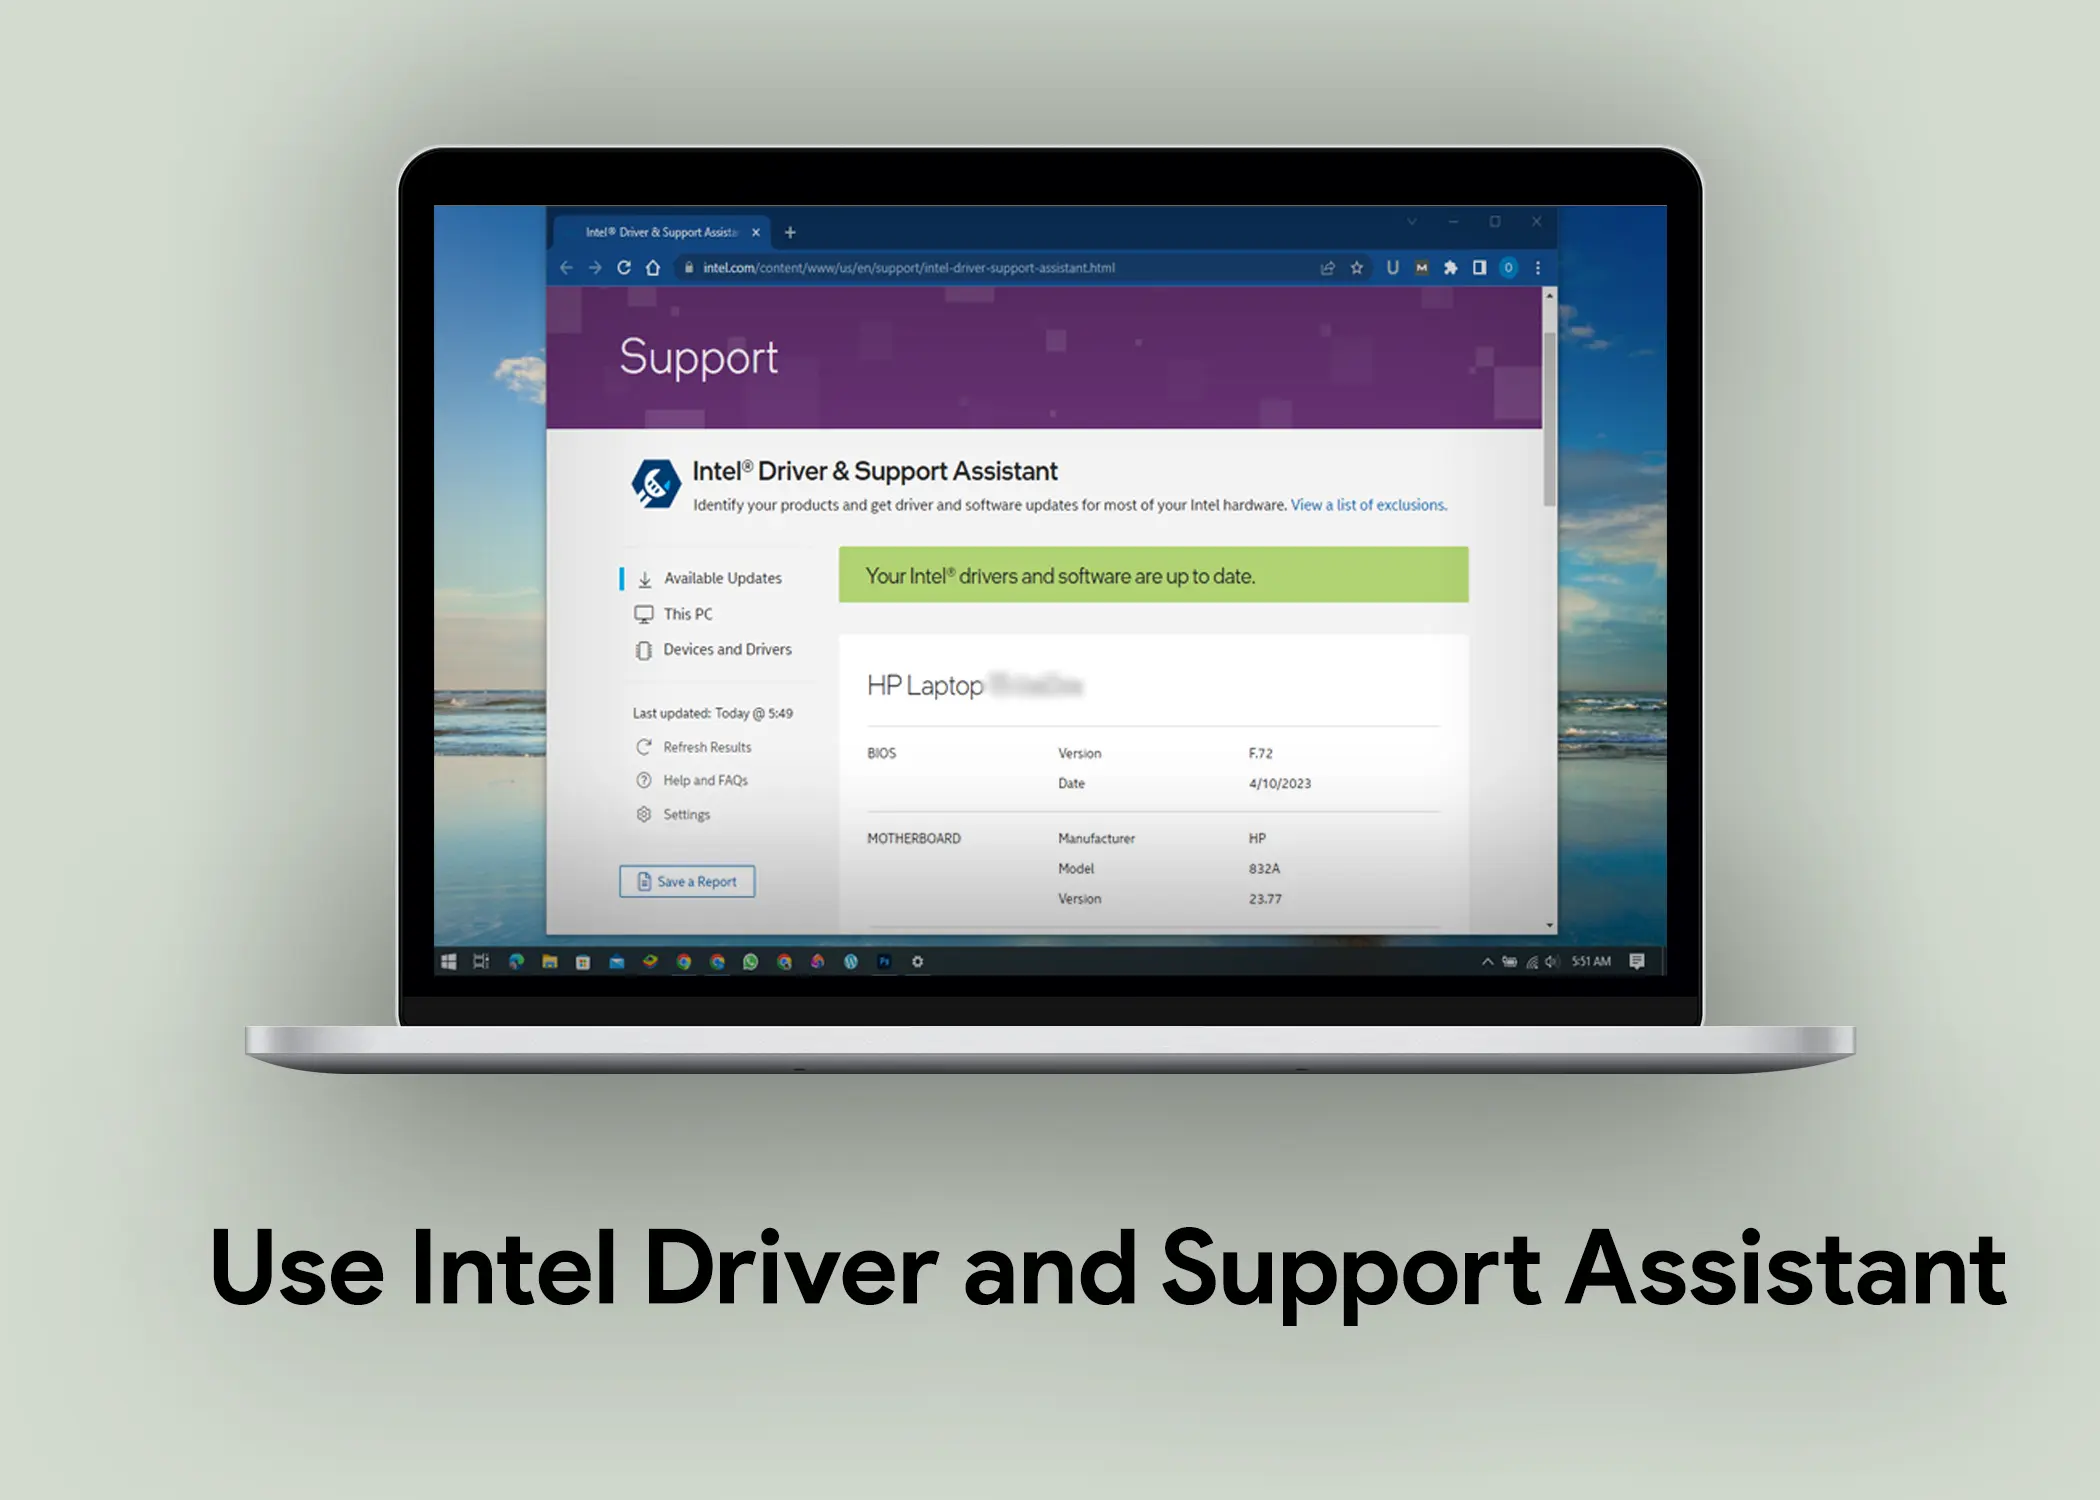
Want to know how you can fully use the Intel driver and support assistant on your laptop?

What Does Intel Driver and Support Assistant Do?
Have you ever tried playing some games like Fortnite or Apex Legends and it keeps telling you that the driver has an issue and that you should update it? And you keep going to Windows update in settings and still, you keep getting the same issue. Well, Intel DSA is the app that you need.
Intel Driver and Support Assistant works by scanning all your drivers on your laptop and checks the database of the drivers online to see if there is any new update on it. Then it downloads the update and installs it, overwriting the old driver version. When you do this, trust me, that graphics issue before you launch a game will never show, unless there is a new update.
Requirements for Installing and Using the Intel Driver & Support Assistant
To be able fully use the Intel DSA to the fullest, you have to meet certain requirements. Here are the requirements that you should meet up to:
- A good Internet connection.
- Windows 7 and above, which are 7, 8, 8.1, 10, and 11.
- Make sure that your Windows is updated to its latest version.
- Any web browser that is up to date. It can be either Chrome, Firefox, or Edge browser.
How to Use Intel Driver & Support Assistant
UinIntel Driver and Support Assistant can be done in five simple steps. But I have broken it down to make it easier and simpler to follow. Here are the 5 steps on how to use the Intel DSA:
Step 1: Download and Install Intel Driver & Support Assistant
- Go to the Intel Driver & Support Assistant website.
- Click on the Download Now button. Wait for the setup to download completely.
- Click on the setup to install it.
- Agree to the license terms and conditions by clicking to check the box.
- Click on the Install button. Wait while the installation is in progress. This might take a few minutes.
- After the installation is complete, you will have to restart your laptop to finish the installation. To do this, click on the Restart button.
Step 2: Open Intel Driver & Support Assistant
- After you have successfully restarted your laptop, open Intel Driver & Support Assistant.
- Hover over the taskbar of your laptop to make it appear if it is set to hide.
- Click on the system tray icon.
- You will see the Intel DSA icon, right-click on it.
- Then select Check for new drivers. A new tab on your browser will open. You have now opened the Intel DSA.
Here, the Intel DSA can provide you with detailed information about your system and devices, including the operating system, BIOS, drivers, and software that are installed. This information can be useful for troubleshooting problems or for simply learning more about your system.
Step 3: Check for Driver & Software Updates
Intel Driver & Support Assistant can also check for software updates. To do this, click on the Software tab. If you have any outdated software, you will see a list of them. However, you can also refresh it to check if there is any update that is missing. You can do this by clicking on the Refresh Results button.
If you are up to date, it will show you a green notice bar saying “Your Intel drivers and software are up to date.” However, I still recommend that you double-check by clicking on the Refresh Results button on the left panel. Also, it can notify you when there are important updates available for your system or devices. This helps you stay up to date on the latest security fixes and performance improvements.
Step 4: Install Driver and support Updates
- Click on the Intel Driver & Support Assistant icon.
- On the webpage, click the Available Updates tab.
- Under Available Updates, you will see a list of all the outdated drivers on your system.
- Proceed to download the updates. You can choose to download and install all of the updates, or you can select individual updates to install.
- To download all the updates, click the DowAllad all button. To download individual updates, click the Download button next to each update.
- Once the updates have been downloaded, click the Install button to install them.
You can also click on the title of any update to see additional details, such as the version, and release date.
Step 5: Restart Your Laptop
After installing the driver and software updates, it may recommended that you restart your laptop. This will ensure that the changes are applied correctly. Not all updates require rebooting or restarting.
Note: Intel DSA is a web-based application, so it will open a new tab in your browser when you launch it.
After you have finished downloading and updating all your Drivers & software, you can proceed to Uninstall or Delete the Intel Driver & Support Assistant. If you cannot uninstall the normal way, you should try the Intel DSA Uninstaller. It is software that installs the Intel DSA completely from your laptop.
