
Learn About the Screen Recording Feature in the Snipping Tool
In this article, you will learn how to use the screen record feature in the Snipping Tool on Windows 11. You will also learn about the limitations of the screen recorder and alternative methods for recording your screen.
The Screen recording feature on the snipping tool is a great way to record your screen and share it with others. You can record anything from a tutorial to a gameplay video with this easy-to-use tool.
How to Record Your Screen Using Snipping Tool in Windows 11
Windows 11 includes a built-in screen recorder that allows you to capture videos of your desktop activity. The Snipping Tool app, which people have traditionally used for taking screenshots, integrates this tool. To use the screen recorder, follow these steps:
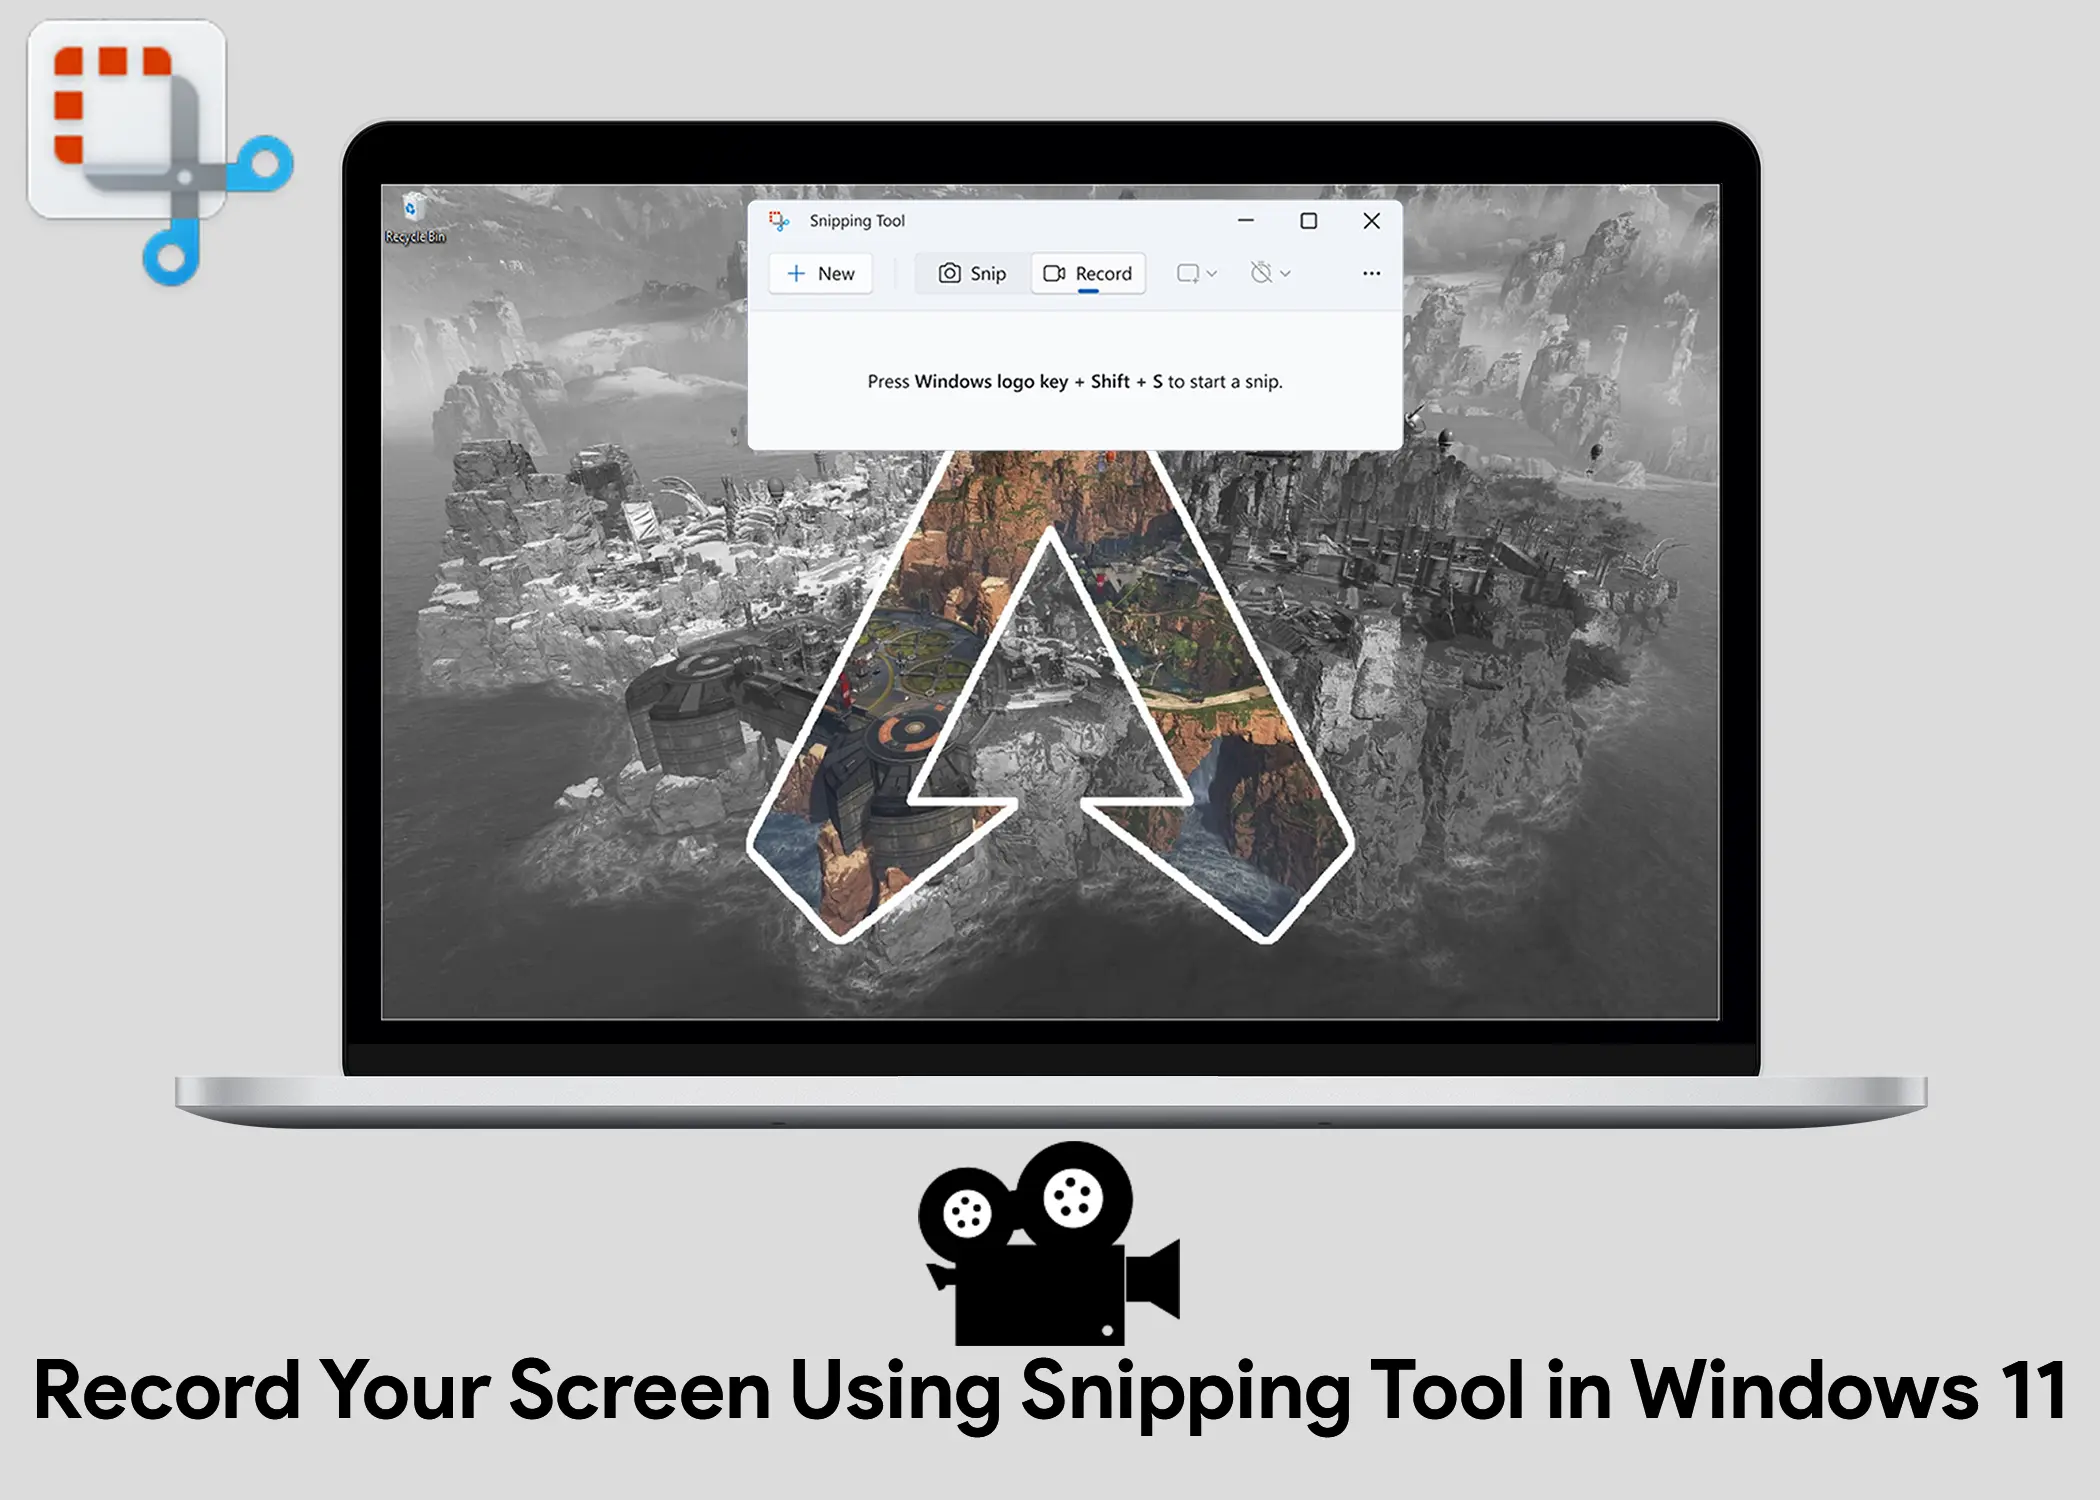
- Open the Snipping Tool. You can do this by searching for “Snipping Tool” in the Start menu or by pressing the Print Screen key + Windows key + Shift key.
- Click the “Record” button. This button looks like a video camera icon.
- Click “New recording” or press Ctrl + N. This will open the screen recorder interface.
- Drag and select the portion of the screen you want to record. If you want to record the entire screen, click the “Start recording” button.
- A three-second countdown will appear, and then your screen will start recording. A red outline will indicate the area of the screen that is being recorded.
- You can use your computer as you normally would while recording. The screen recorder interface will be visible at the top of the screen but not in the recorded video file.
- To pause or restart recording, click the corresponding button on the screen recorder interface.
- To stop recording, click the “Stop” button. The Snipping Tool app will open your video file so you can watch it back, save it, copy it, or edit it in Microsoft’s free Clipchamp video editor.
You can use the Screen recording feature to record anything that you can see on your screen. This includes your desktop, applications, and even games. You can also use the Screen recording feature to record audio from your microphone. This is a great way to add narration to your recordings.
Limitations of the Snipping Tool Screen Recorder
- The screen recorder only supports MP4 video files.
- The screen recorder does not currently support audio recording.
- There is no keyboard shortcut to jump directly to the screen recorder.
Also, Check Out: How to Use Chrome Remote Desktop: Full Review
Can You Screen Record Using the Snipping Tool on Windows 10?
No, the Snipping Tool screen recorder is not available for Windows 10. Windows 11 introduced the screen recording feature, but older versions of the operating system do not support it. However, there are a number of third-party screen recording tools that you can use to record your screen in Windows 10. Some popular options include OBS Studio, ShareX, and Ice Recorder
Alternative Screen Recording Methods
- Xbox Game Bar: You can use the Xbox Game Bar as a gaming overlay and to record screen activity. However, this feature only records video games and does not capture the Windows desktop or File Explorer.
- Third-party apps and add-ons: You can use various third-party apps and add-ons to record your screen in Windows 11. However, be sure to read reviews carefully before installing any of these apps, as some of them may have malware or subscription fees.
Also, Check Out: How To Setup Microsoft Remote Desktop Protocol (RDP)